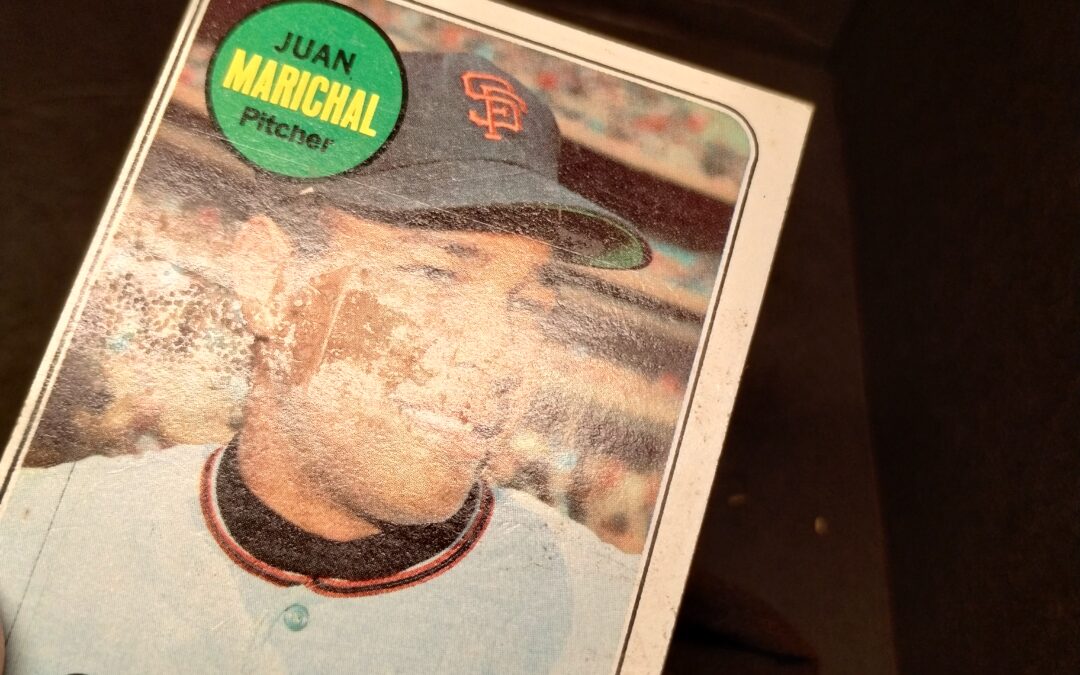
I’m always surprised when I see cards listed for sale at a discount due to surface wax. I’ll admit, I’m a sucker for these deals just because I like cleaning them up! Surface wax removal is quick and easy, as you will see in this how-to. And the results can be really impressive.
Take a look at the examples and then give it a try the next time you find a waxy card. Practicing on commons first is always recommended.
Exhibits A and B picked up at the card shop today:


Is Wax Removal “Altering”?
Defining card altering has been a hot topic lately. I chimed in as well in the wake of PSA decertifying some grades after later learning that the cards in question had been doctored (cleaned, creases removed, etc.).
Removing surface wax does not rise to the level of “altering.” In my own collecting ethics, I differentiate between foreign substances “on” the card (like surface wax on the card front) as opposed to defects that are “in” the card (creases, or gum stains that have absorbed into the porous card backs). You can minimize back stains but it takes a chemical concoction to do so–not good.
How To Remove Surface Wax
OK, this is the shortest how-to of all time.
Supplies needed: 1) Waxy cards–see above; and 2) Microfiber cloth or pantyhose.
Step 1: Place cards on a flat, clean, smooth surface that won’t scuff up the card backs when pressure is applied.
Step 2: Make a light swirling motion over the waxy area–working from the inside out and being careful not to ding card edges or corners. Use your free hand to stabilize the card.


Step 3: Hold the card up to a good LED light often–rotate the card at different angles to catch the “sheen” and keep going until all waxy residue is removed.
Step 4: On subsequent attempts, be sure to use a fresh part of your cloth. The residue will gum up the used portions of the microfiber.
Step 5: Enjoy your improved card! It’s a simple fix that can make a huge difference.


Great How To! Can’t wait to try this on some vintage wax.